Creating Seamless Patterns with Custom Elements

Welcome to Patterned AI! In this tutorial we’ll focus on creating patterns using custom Elements. This method is ideal for creating patterns with greater control over composition, allowing you to precisely arrange elements to achieve your desired look. Let’s dive in!
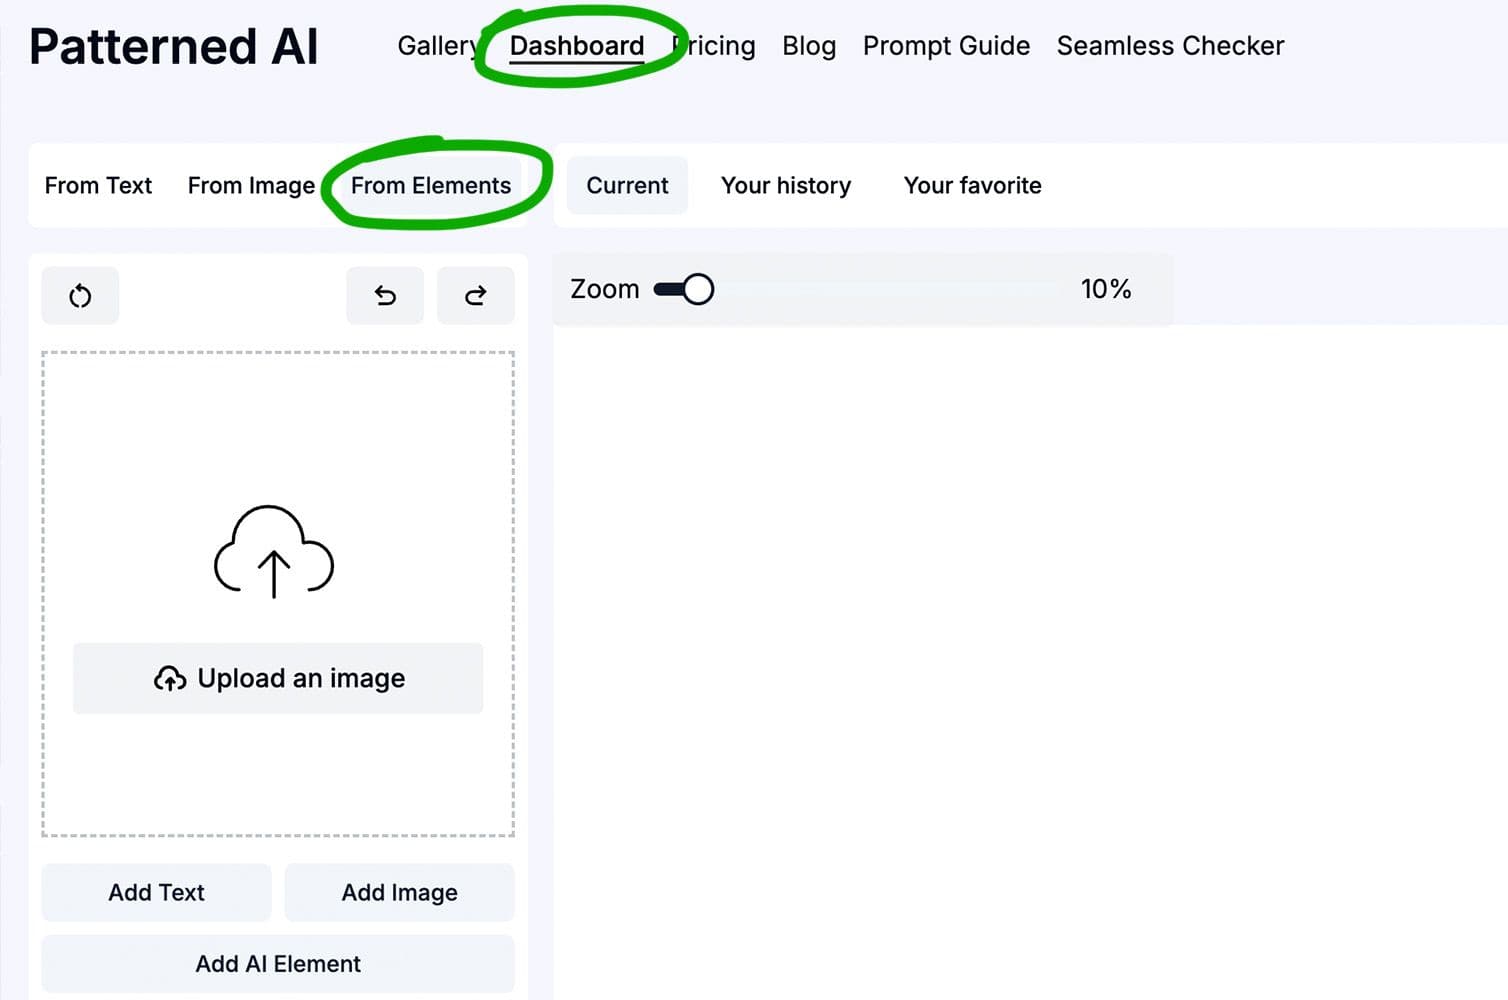
To access this feature, go to the Dashboard in the main menu. Then, select the "From Elements" option from the menu on the left.
Incorporating Text into Your Patterns
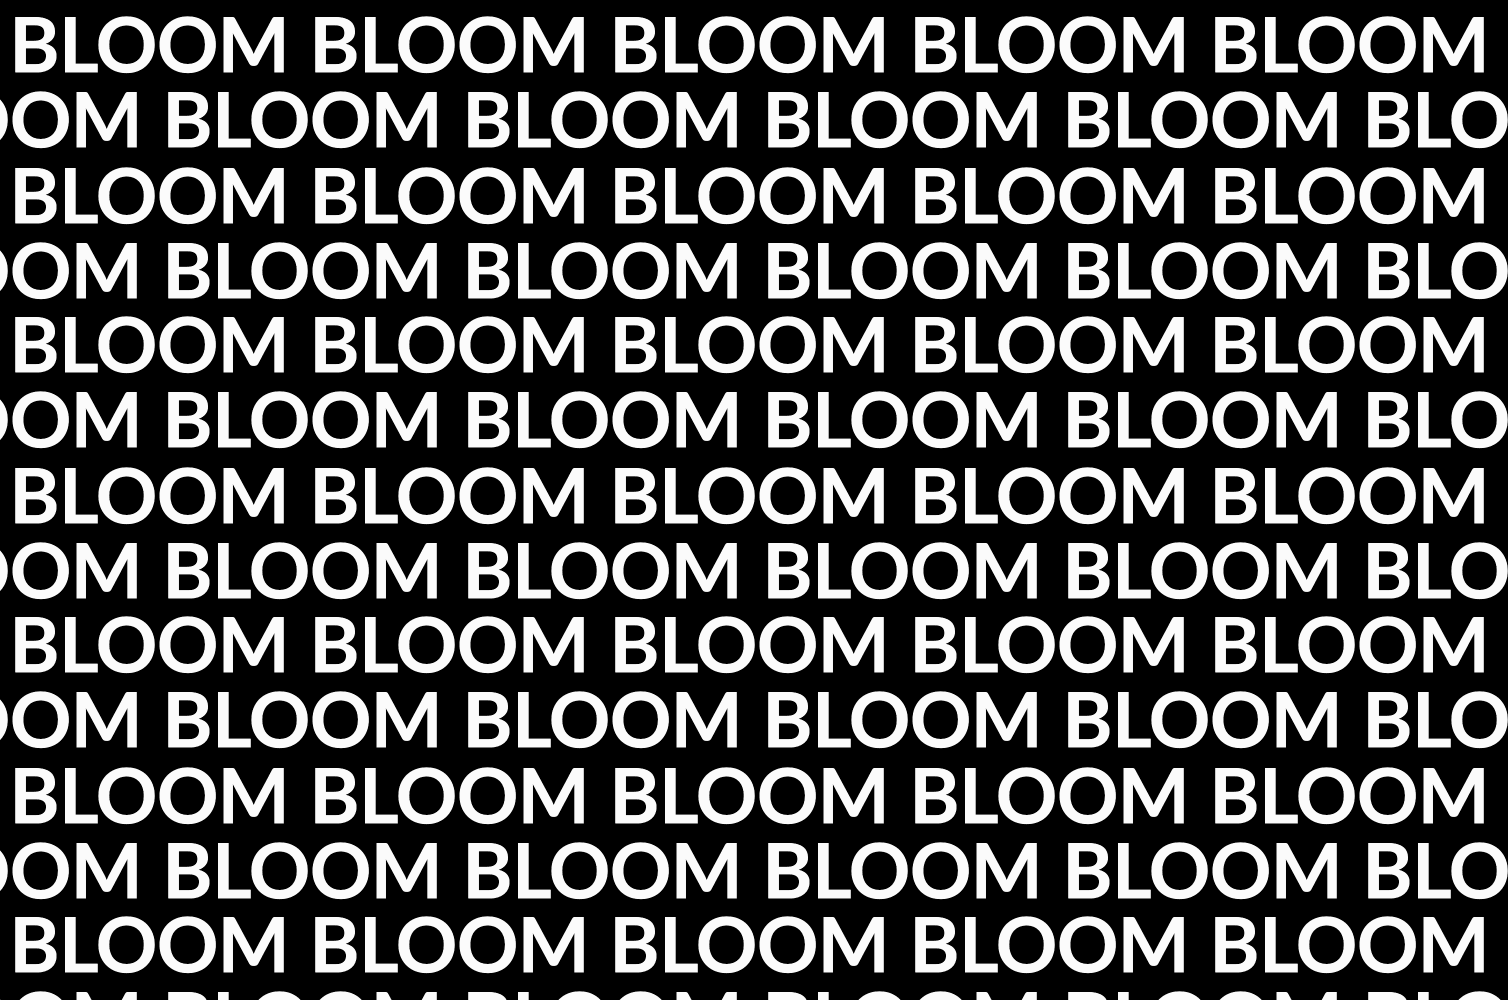
Text is one of the key element types you can add to your seamless patterns, offering endless creative possibilities. It can be used on its own to create a bold, typography-focused design or combined with other elements to add depth and meaning to your pattern. This feature is particularly valuable for branding, allowing you to incorporate your company’s name, slogan, or key messages directly into the design.
For example, you can highlight an important company milestone, such as an anniversary, or reinforce brand identity by weaving your motto into the pattern.
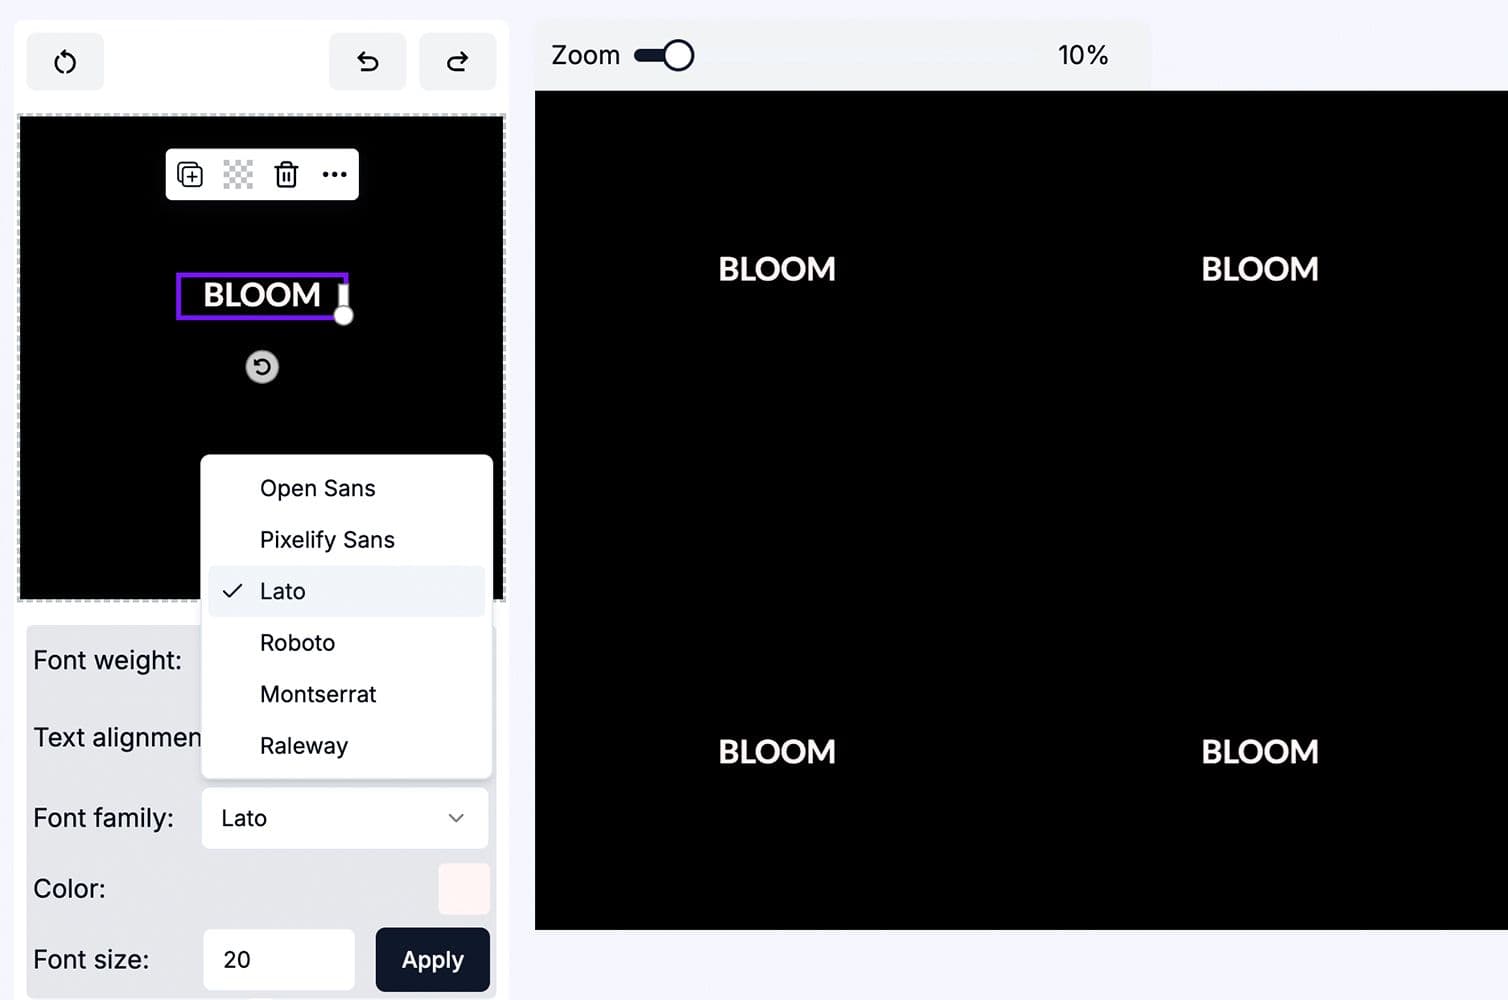
You can choose from six versatile system Font Families to add text to your pattern, each offering a unique style to complement your design. Customize the Font weight, size, and color to match your vision perfectly, creating a truly personalised look. Whether you prefer bold, attention-grabbing text or subtle, refined typography, these options make it easy to tailor your text elements to suit your project.
Adding Images To Your Patterns
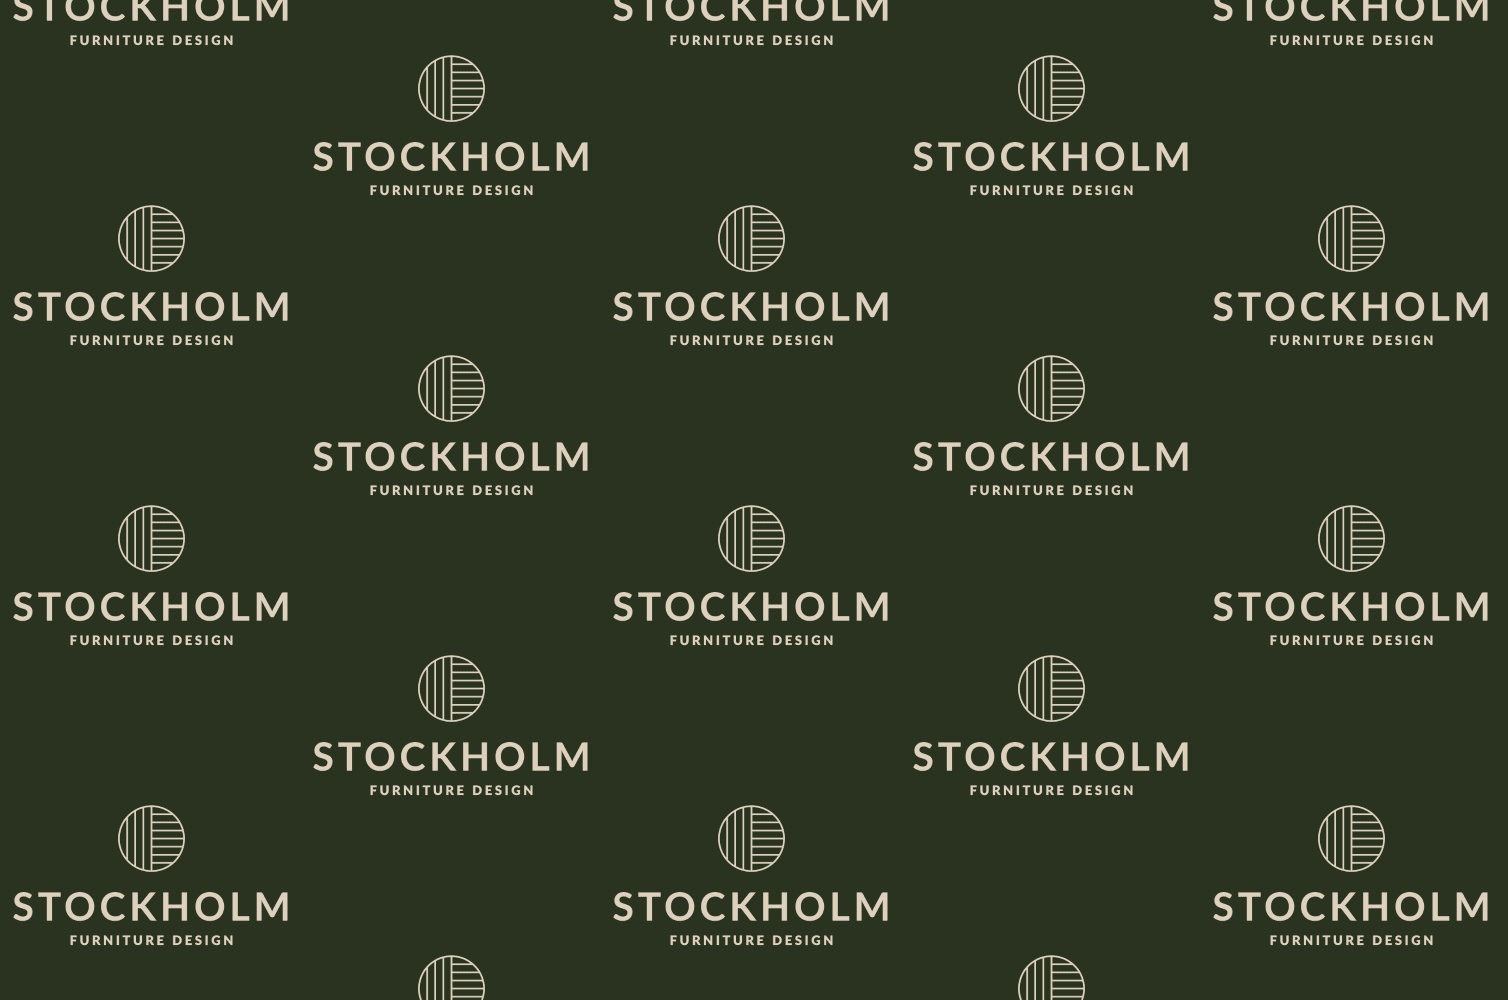
With this feature, you can upload existing Images to create a completely unique pattern. Commonly used images include logos and graphic assets purchased from third-party platforms like Creative Market or Envato. For best results, use PNG files with transparent backgrounds. The biggest advantage of this approach is more creative control over the final pattern compared to AI-generated designs from text prompts.
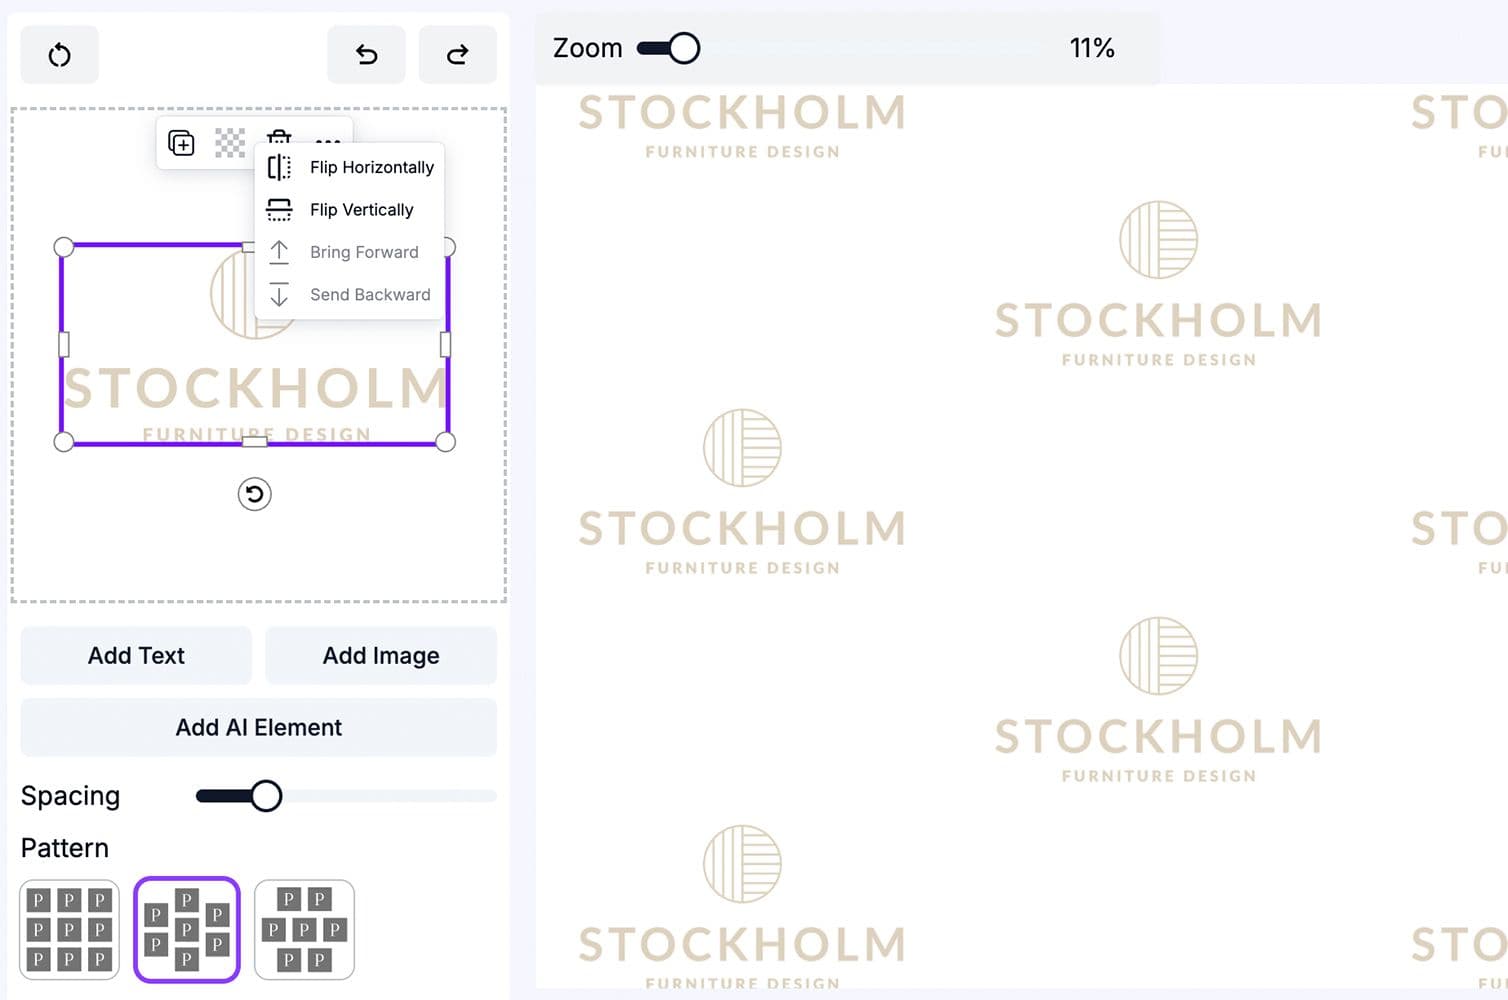
The image editor provides complete design flexibility: duplicate elements, adjust transparency, flip them vertically or horizontally, and rearrange their order to refine your design.
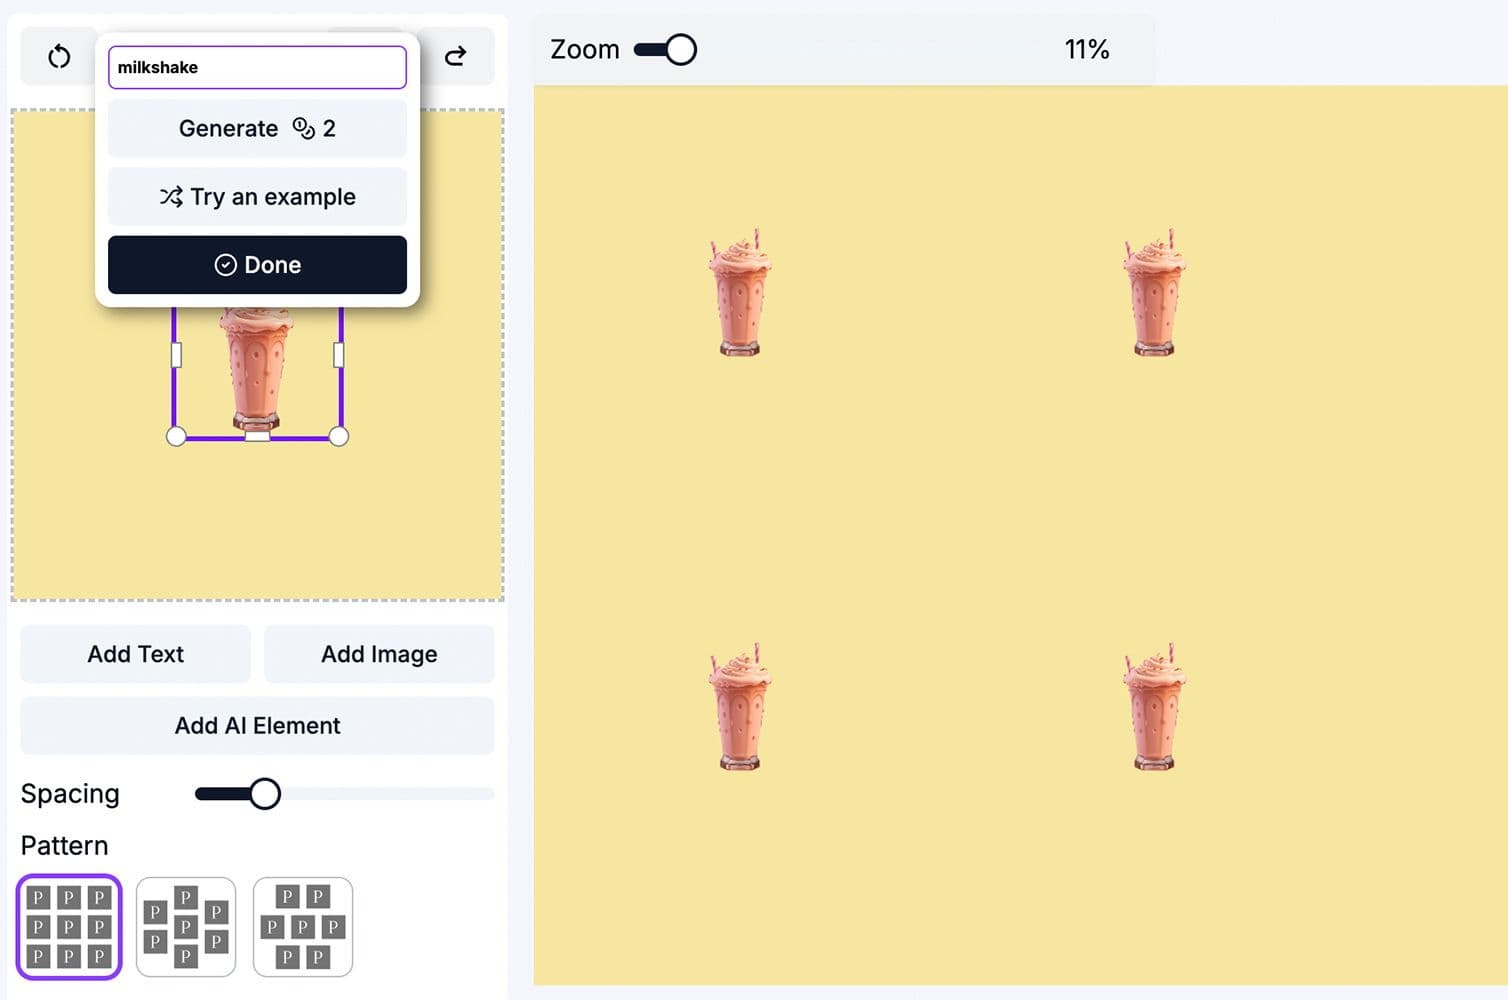
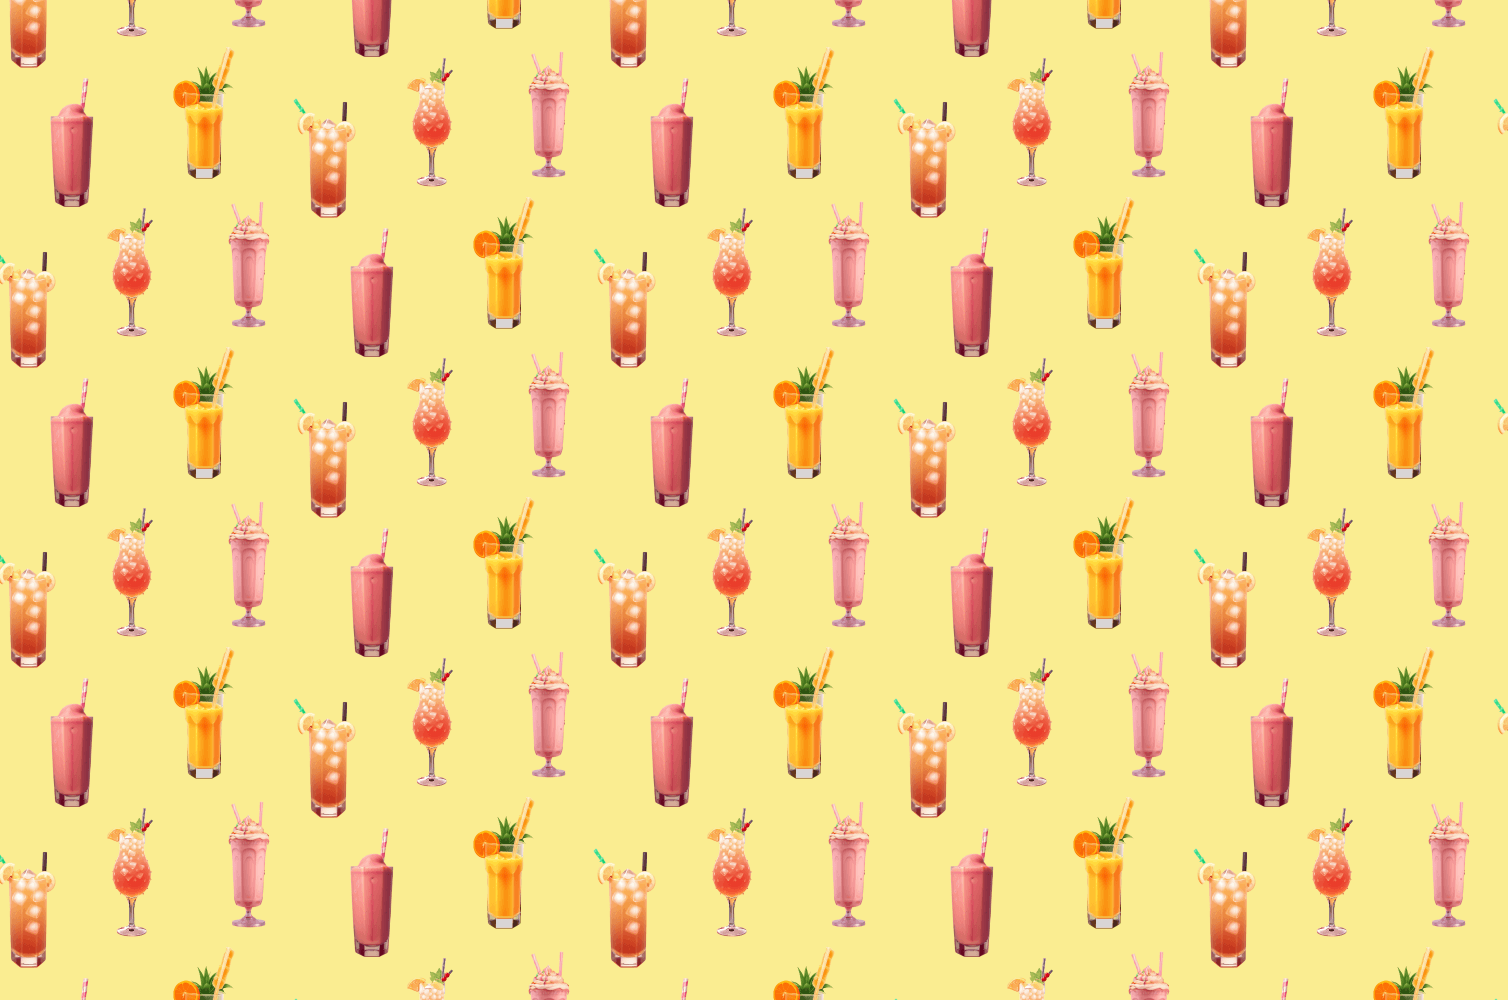
You can use one or several images, mix them with text, or even combine them with AI Elements to bring your design to life. These vibrant, emoji-like 3D elements can add a playful and dynamic touch to your pattern. You can create an entire pattern using these fun, AI-generated components alone, opening up numerous possibilities for creativity and customisation.
Refining Your Patterns
Once you’ve chosen the assets for your pattern, it’s time to refine your design to perfection.
- Adjust Spacing
The Spacing tool lets you adjust the size and positioning of all elements simultaneously, either adding or reducing space between them. This feature is especially useful, as it eliminates the tedious process of resizing elements one by one, a common challenge with traditional design software.
- Select Your Layout
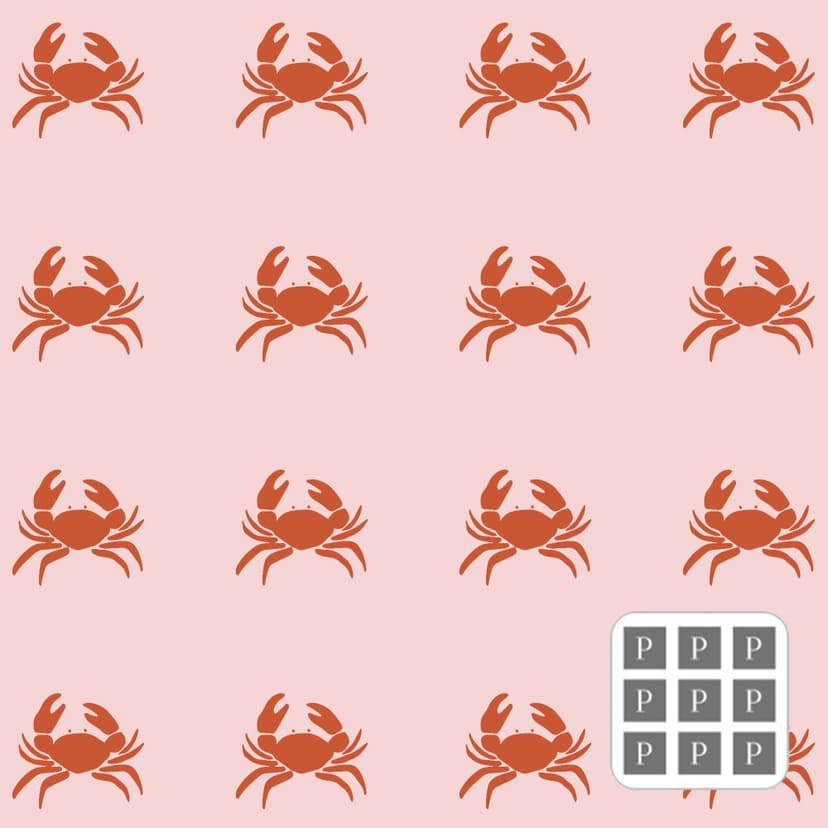
Choose from three Pattern layout options to arrange your elements in a way that best suits your vision. These layouts provide flexibility and ensure your pattern is balanced and visually appealing.
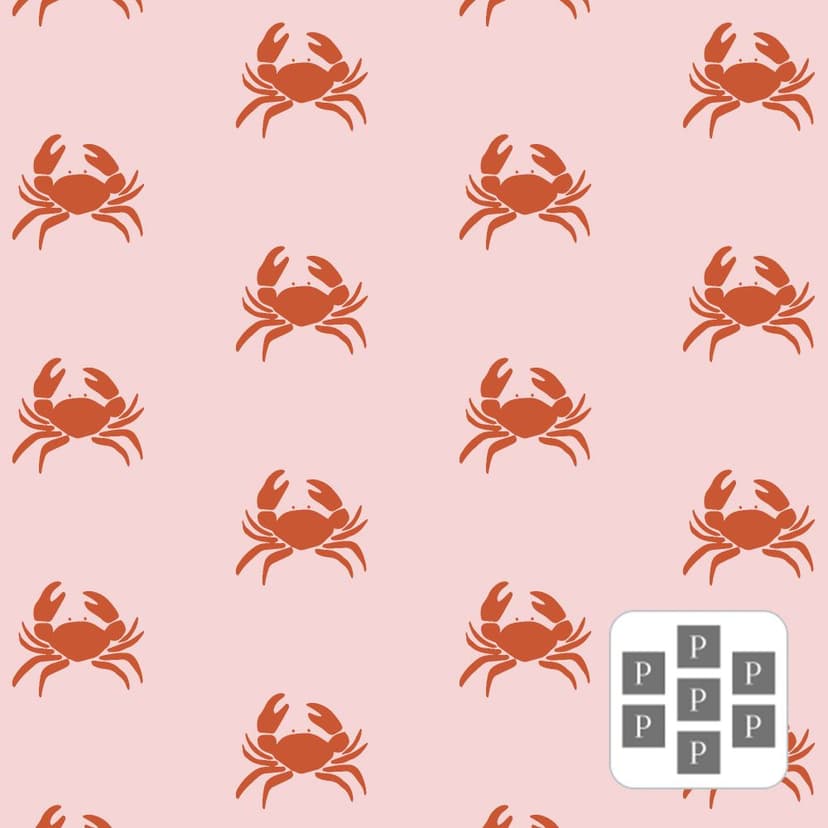
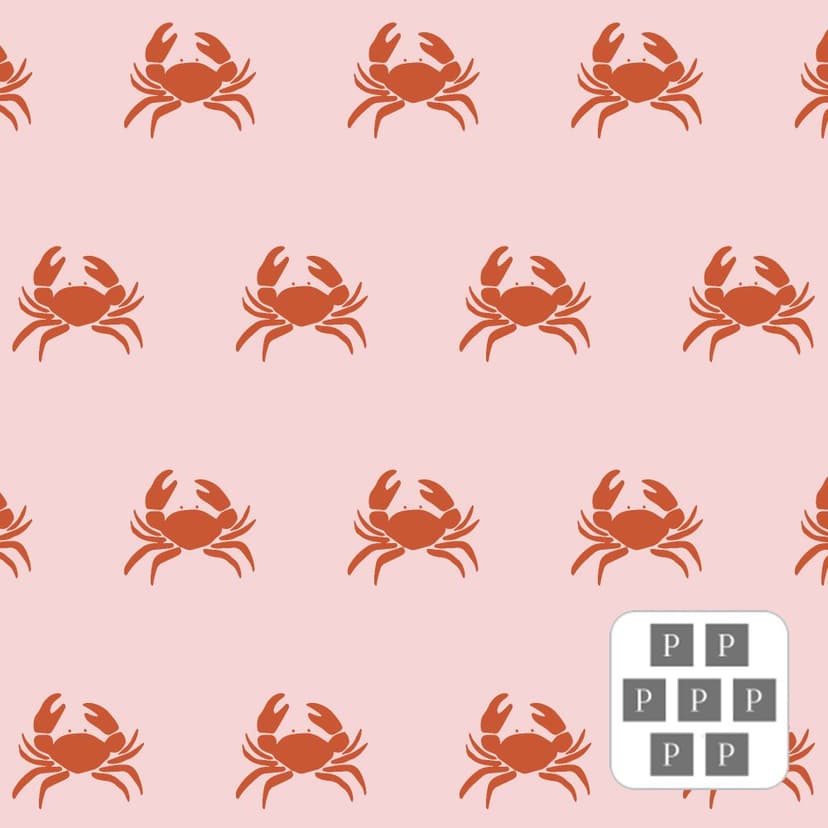
- Customise the Background
Pick a Background color that complements your design. For ideas, explore branding color palettes on platforms like Pinterest. If you need a transparent background for versatility, that option is also available.
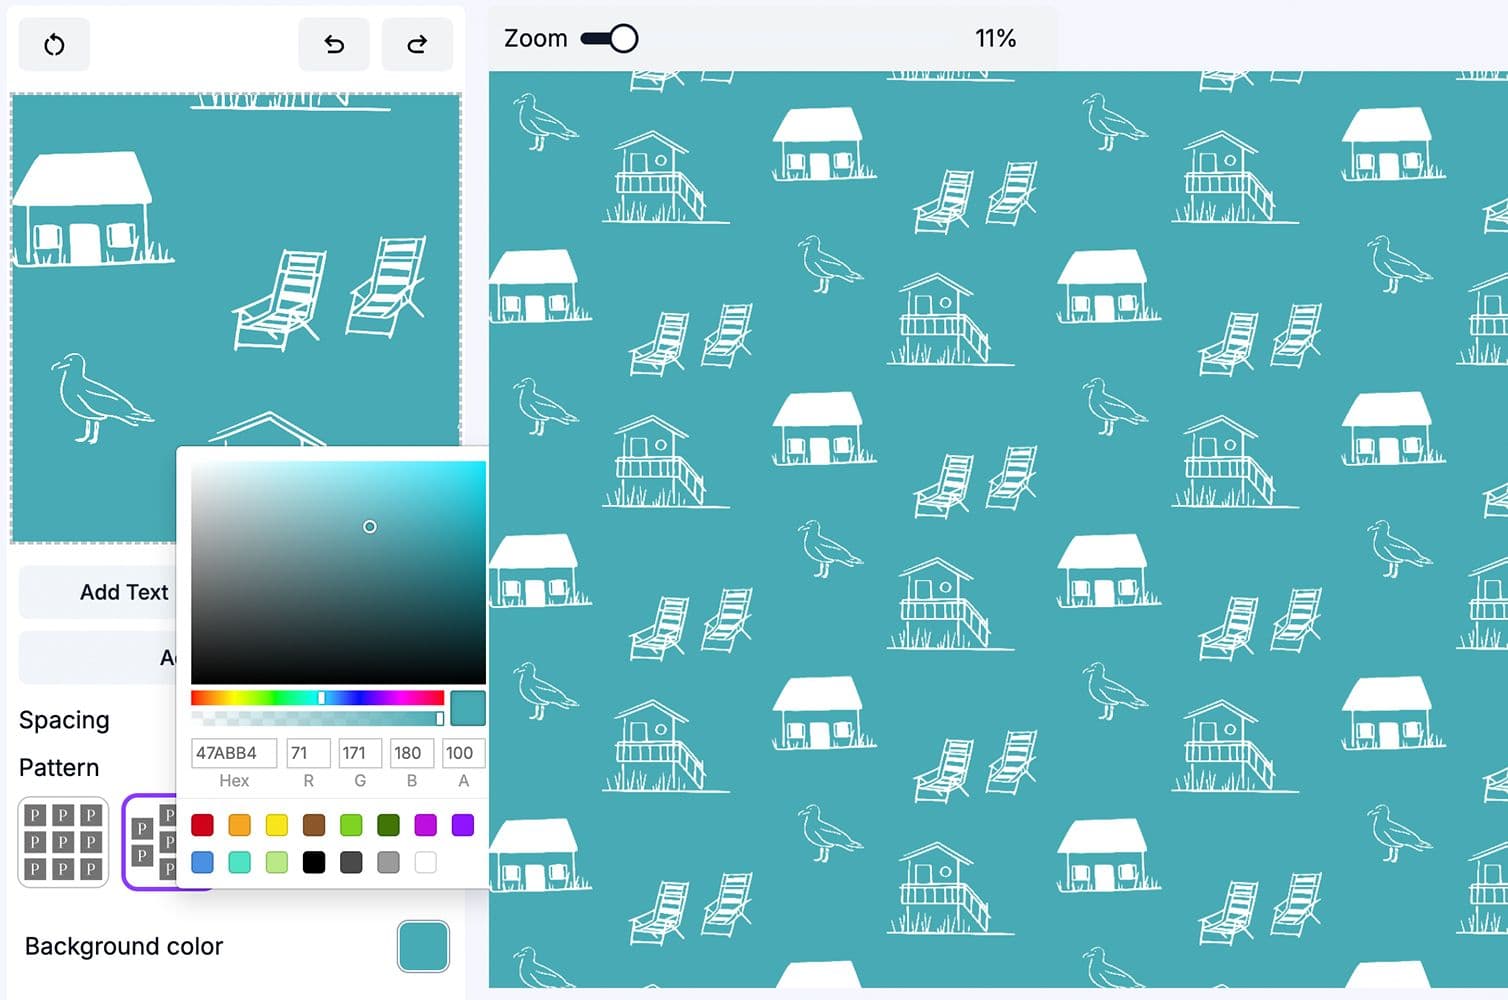
- Resize and Center Elements
Easily zoom in or out to adjust the scale of your elements within the pattern and scroll in any direction to find the perfect centre point. This gives you complete control over the final look and feel of your design.
- Export in Print-Ready Formats
If you know the resolution you need, simply enter it to download a print-ready Repeat Image. For textile projects, choose the Pattern Tile option, which your manufacturer can use to create a seamless design.
- Enhance with AI
Take your pattern even further with the Enhance with AI feature. This sends your design directly to the "Create from Image" tab, where you can fine-tune it, make additional adjustments, or let AI add a creative touch for a truly polished result.
By following these steps, you can transform your initial ideas into professional, custom patterns that are ready for any project!